The most common question I hear from knife owners is how to sharpen a knife. Over time and with use, every blade will need sharpening. It makes sense that knife owners want to learn how to keep their tools sharp and performing at a high level.
Why Some Knives Cause Trouble
A lot of knife owners come to me unsure of how to sharpen a knife, or they know how but are having trouble getting it right. When they hand me the knives they're working with, the reason for the struggle becomes clear — they have no shot at sharpening those knives.
Why? In some cases, the knives have a super thick edge geometry, requiring a belt grinder or a professional to get any real sharpening done. In other cases, the steel of the blade is way too hard for sharpening at home. It's like trying to sharpen a diamond. The average stone wouldn’t be strong enough to handle that kind of steel.
A nice, thin edge geometry in a steel that's not diamond-hard gives you a chance to actually work that blade on your own stone.
Consider a Hunting Blade Edge vs. Other Knife Edges
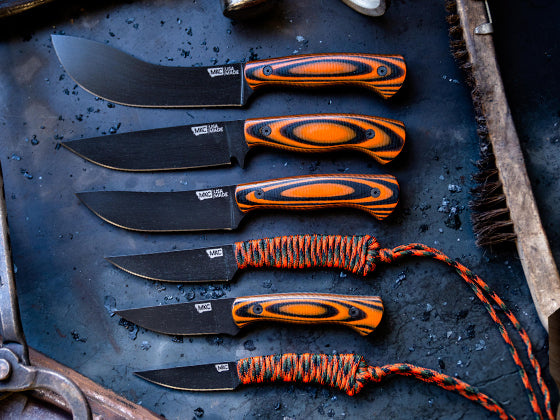
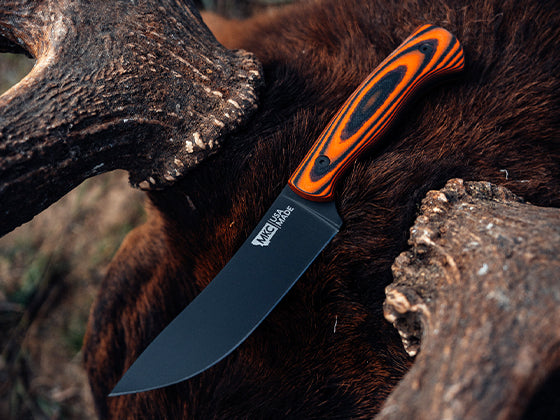
Hunting knives serve very different purposes from, say, chef's knives, so how you sharpen them differs as well.
With a hunting knife, I like to think of the edge as a microscopic saw. You want an edge that can grab, rip, and cut through hair and bite through hide. A chef's knife still has microscopic saw teeth, but much finer, since it simply needs to push through food like a razor blade.
What Type of Sharpener to Use
Let's say you have a knife that has good edge geometry but that has lost that hair-shaving edge.
Your first step is to get a good sharpener. I recommend a whetstone, either a water stone or an oil stone. They're inexpensive, they don't take up much space, and they give you a lot of control over the sharpening process.
The grit of the stone depends on the type of knife and its condition. Heavy knives and knives that need a lot of work might need an aggressive stone, something like 220 or 320 grit.
I normally use stones between 600 and 1,000 grit for hunting knives. For the fine edge of a chef's knife, you might use 1,000-8,000 grit stones.
How to Sharpen a Knife
Knife sharpening really only involves a few simple steps. So with practice, you can learn how to sharpen a knife without too much difficulty.

Step 1: Choose an Angle
The first thing to do when sharpening your knife is to choose your angle. I prefer a 20 to 25 degree angle for the average hunting knife, but all knives are different, and it depends on what you use your knife for. It might take some practice for you to determine the angle that best suits you and your blade.
Step 2: Establish the Burr
The next step is to establish a burr while drawing the whole length of the edge backwards along the whetstone toward you, one pass at a time. As you sharpen a knife, you're actually removing material from the blade. That material raises up to form a burr on the opposite side of the knife as you move the blade back and forth over the whetstone.
You'll push fairly hard at first, for maybe ten passes, depending on what kind of shape the blade is in. You can feel along the opposite side of the blade's edge to see if you have a burr raised along the full length. Once you do, it’s time to work on the other side.
Note that the burr might raise on one part of the edge but not another. If that happens, you can refocus on the burr-less spot until it matches the rest.
With the burr established along the length of one side, repeat the action on the other side. Then, work both sides with alternating strokes until the burr is balanced along the whole length.
You should feel feedback from your whetstone — the resistance you're getting or not getting with each pass. As each pass gets smoother, start reducing the pressure you're applying as you finely tune the edge.
Step 3: Use a Strop
After working the blade back and forth, it's time to use a strop, a leather belt, or a buffing wheel to remove the wire (burr) edge. Stropping hones the wire edge and removes inconsistencies at a microscopic level.
Working the knife back and forth, you'll see scratches in the strop from those inconsistencies. Work the blade until those disappear. If the scratches are too big or aren't going away, you can go back to the whetstone for a few more passes.
Step 4: Test the Edge
After stropping, it's time to test the edge to see how the knife performs.
An easy test is to hold up a piece of paper and slice right through it using the whole length of the knife. If the blade moves through in one smooth motion, you're ready to go. If it catches at any point on the paper, that's a sign that a spot needs reworking on the strop, or maybe even back on the stone.
You Can Learn How to Sharpen a Knife
It's absolutely possible to learn how to sharpen a knife on your own. You just need a little knowledge, the right tools, and a good knife that's made with sharpening in mind.
For a demonstration on how to sharpen a knife, check out our video below.
by Josh Smith, Master Bladesmith and Founder of Montana Knife Company


